In which your narrator describes the end, hopefully, of a search for a reasonable way of converting pixel-defined print roads calculated by Slice and Dice.
For the past two months I've struggled with what has been, for me, a very nasty problem, viz, converting pixel boundaries defining print roads for my Rapman printer into equivalent vector descriptions. As I mentioned previously, in order to get a major axis velocity of 16 mm/sec on the SD card Rapman 3.x you have to have GCode vectors of no less than 0.3 mm. If you are printing detail finer than that the lag caused by reading off the card and processing the GCode slows down the print head dramatically.
From my literature search, vectorization is a fraught process, especially if you are not willing to accept considerable degradation of your pixel-defined road. With 3D printing, perforce, we really can't accept degradation.
Over the last few weeks, I've finally confected a method which seems to do the job. As with most things I do, it is relatively simple and straightforward.
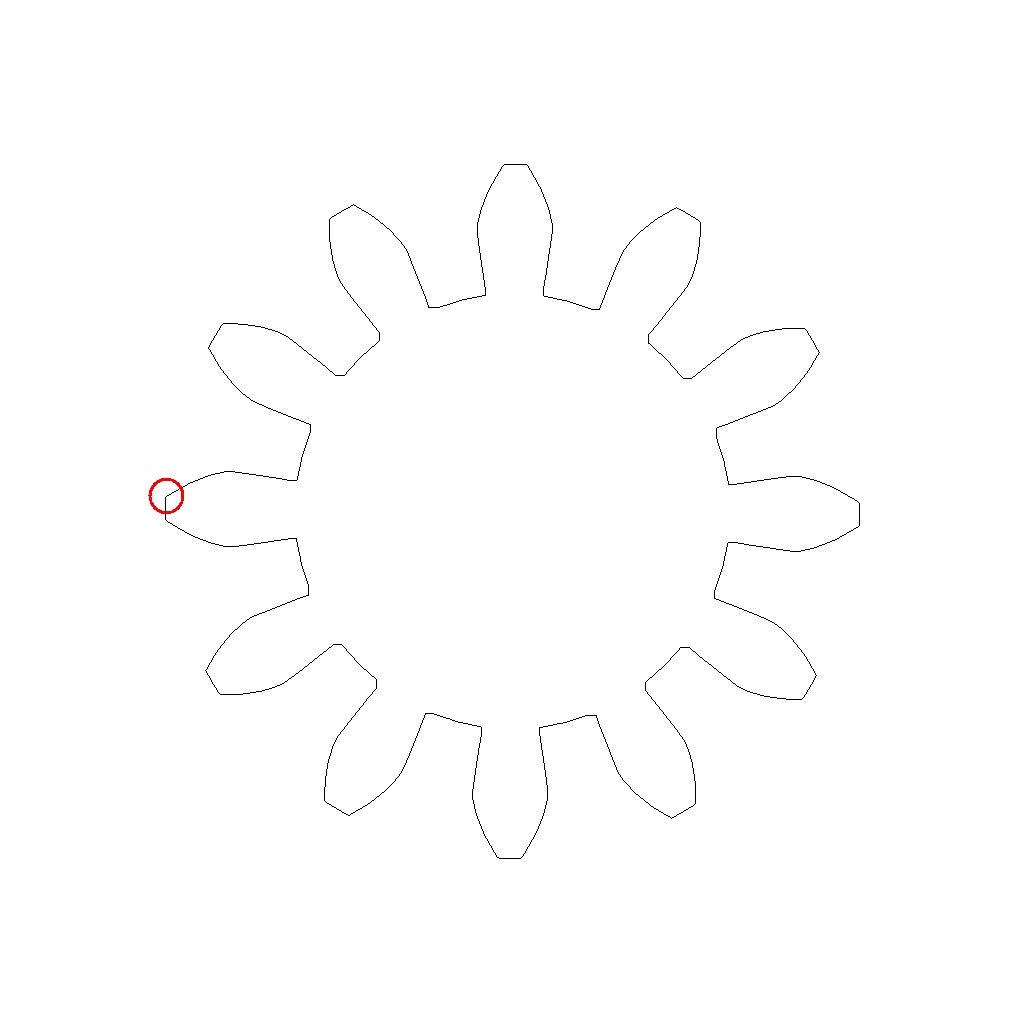
Suppose we have a perimeter path for an involute profile gear...

Here you can see the individual pixels making up the print road. The first thing we do is define the starting point and direction of the road from the centre of the patch.

At that point I pivot a scan from the center of the patch and identify the closest fits at ranges varying from 1 pixel to 11 pixels.
In this case, the longest perfect fit to the involute profile was 4 pixels.

Red pixels represent the fitted vector while blue indicate the remaining pixels. Notice that this vector is four pixels long, just enough for the Rapman to operate at 16 mm/sec.
The patch is then re-centred over the most distant red pixel and the process repeated until the full loop is vectorized.
Looking at a simpler problem, consider a hexagonal print road...

Isolating the beginning of the print road yields...

Scanning this straight line gets a perfect match at 11 pixels. Thus the way I have the code set up now creates vectors of up to 11 pixels in length, a maximum length of about 1.4 mm. It's reasonable to ask why the vectors are kept so short. In fact, it takes much longer to process the print roads with longer vectors and there is no reason, SD cards having huge storage capacity, not to have large print files.
As I get time in the coming weeks I will be fully embedding this method into Slice and Dice.